Is your website going in the right direction?
It's important to move your site to its new location correctly, whether you're switching hosts or doing a full redesign.
Don't understand what that means?
You're not all alone.
Site migrations are hard to understand for people who don't know much about design, development, and SEO (SEO).
What does website migrationmean, and why is it important for the success of your business?

The Basics Of Website Migration
What Does Migrating A Website Mean?
Site migration is hard to define because it can mean different things to different people.
When you make big changes to your website that can affect how it shows up in search results, this is called a migration.
Migration is the process that developers and designers use to move a website from one place to another.
In reality, both of these statements are true.
There is a lot of overlap in what makes a site migration, which can be anything from a simple change in hosting to a full redesign of the site.
The main point is that a site migration is when you have to move your website and point all of your old pages somewhere else.
Think of a website migration as the same thing as moving your business to a new location.
Your business has moved, but you need to make sure that your customers can still get in touch with you at your new location.
You must also make sure that your new place of business has all the utilities it needs to run.
With proper site migration, you can make sure that your users can reach your new website and that your business can go on as usual.
Why Would You Need A Website Migration?

Site migrations happen often, so you might not even know you need one.
There are many reasons why a business might need to move its website, and depending on your needs, many of them may overlap.
Here are some common reasons why you might want to move your website:
A Hosting Change
A change in hosting is usually the easiest site migration your business needs to do.
In this case, you'll need to move the files and database for your website to a new server.
Even if you don't change anything else on your site, this change will still need a migration to make sure everything goes smoothly.
You might move your website to a new host for a number of reasons, such as outgrowing your current host's capabilities or finding a cheaper way to do things, among others.
No matter why, you'll need to move your site to the new hosting service.
A New CMS Or Ecommerce Platform
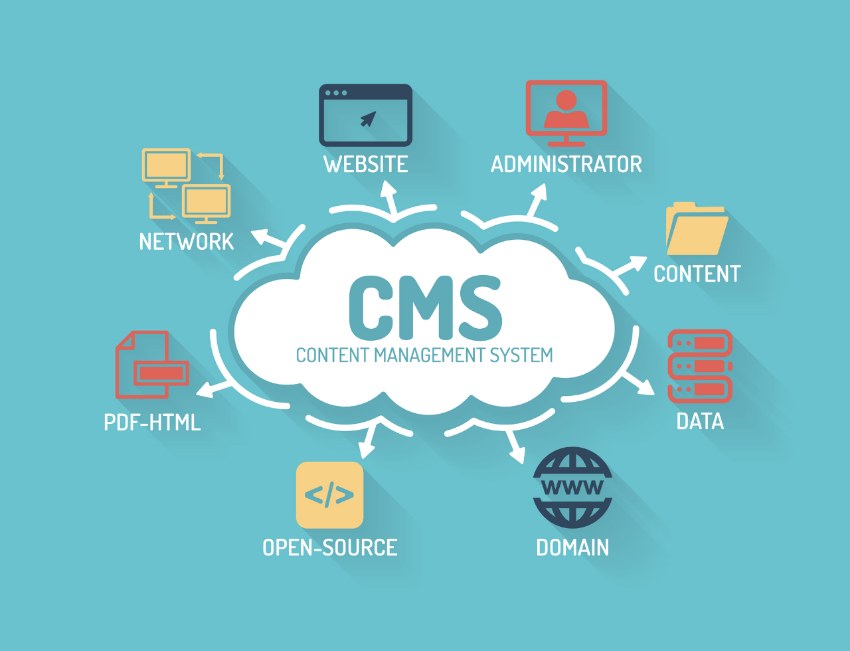
Migrating to a new CMS or ecommerce platform is another common reason.
You may switch platforms for improved functionality, ecommerce, etc.
To ensure a smooth transition, migrate your site to this new platform.
Changing your CMS or ecommerce platform affects the migration's complexity.
Each platform has different rules for moving your site.
Each location has a different layout, so you must move everything before the office is ready.
If you plan to migrate your site from WordPress to Umbraco, you'll need to create new content templates.
Ecommerce platform migrations are difficult because many factors affect key business functions.
To successfully migrate your old data, your new ecommerce platform must have all the features you need, such as CRM integrations and content capabilities.
Platform Updates
Even if you're not switching platforms, you may need to move your website.
Over time, different platforms release new versions of their products.
Many of these updates are small, like adding small new features or fixing bugs, among other things.
Sometimes, your platform may release a major version of an upgrade. Even the best technology needs major updates every once in a while.
When that time comes, you might have to move your website from the old version of your platform to the new one.
The reason for this move is that your platform is staying the same, but the product is changing.
This is like upgrading from a PlayStation 4 to a PlayStation 5: they're both PlayStation systems, but you'll need to update to use some features.
For your website, this might mean moving your old content and making sure everything fits perfectly in the new major version of your platform.
Domain Change
A domain change is another common reason for a site migration. This could be because your company is changing its name or because its URL address needs to be updated.
When you change your site's domain, you're updating it at its most basic level, so you have to do a lot of the same things as when you change your site's content architecture.
It's like changing your physical address in that you'll have to move everything to your new location and tell everyone they need to go there now.
This kind of site migration is easy from a technical point of view.
Once you have a new domain, you can point it to your web server and make sure it responds to that domain.
The hard part is making sure that this migration doesn't have any bad side effects.
You don't want your move to cause 404 errors or hurt your organic traffic in any way.
If your company was known by a certain domain before you changed it, you need to make sure that Google and the people who used to know you by that domain link your new domain to the old one.
If you keep hosting for the old domain or use Cloudflare with the old domain, users who look for the old site will be sent to your new site.
It's like forwarding your mail to your new address, but it keeps your site from losing a lot of visitors because Google and your customers know about it.
People Also Ask
What Is SEO Site Migration?
An SEO migration is the process of moving your website's search engine ranking, authority, and indexing signals to reflect a big change in how your website is set up.
An SEO migration makes sure that you don't lose any of your search engine visibility when you move your website (rankings and traffic).
Does Website Migration Affect SEO?
You already know that redesigning your website or moving to a new domain requires more than just choosing a new domain or making design decisions. It also requires careful planning for URL redirection.
So, this kind of move can have a big effect on how well your website ranks in SEO.
How Long Does Website Migration Take?
How long it takes to move a website and the mailboxes that go with it depends on how much data needs to be moved and how complicated the website is.
Some migrations can take up to three hours, but the average migration takes only thirty minutes.
The Bottomline
As you can see, migrating a website can be very hard.
For your website migration to go well, you must have a solid plan and follow it to the letter.
With ContentKing, you can keep an eye on both the new staging and production environments. You'll always have fresh data, and it will be easy to keep track of changes to on-page SEO. If there are any major changes or problems, you'll be notified right away.
Website migrations are already hard enough; there's no reason to make them harder by not having alerts and having to check things by hand.